Support Product manuals Air Quality Hub
MANUAL

Air Quality Hub — setup guide

From unboxing to the first readings on screen — five steps, about ten minutes.

10 min read Updated 22 Sep 2026 Download PDF

Video walkthrough

Air Quality Hub video walkthrough

«Air Quality Hub: unbox, connect, measure» — 4:12 on YouTube

Step-by-step setup

Follow the five steps in order — each one takes a couple of minutes.

Step 1: Unbox and check the contents
1 STEP 1

Unbox and check the contents

Inside the box: the hub, a USB-C power cable and a quick start guide. The plug standard depends on your region — if it does not match your sockets, write to support and we will send the right one.
Step 2: Power the hub
2 STEP 2

Power the hub

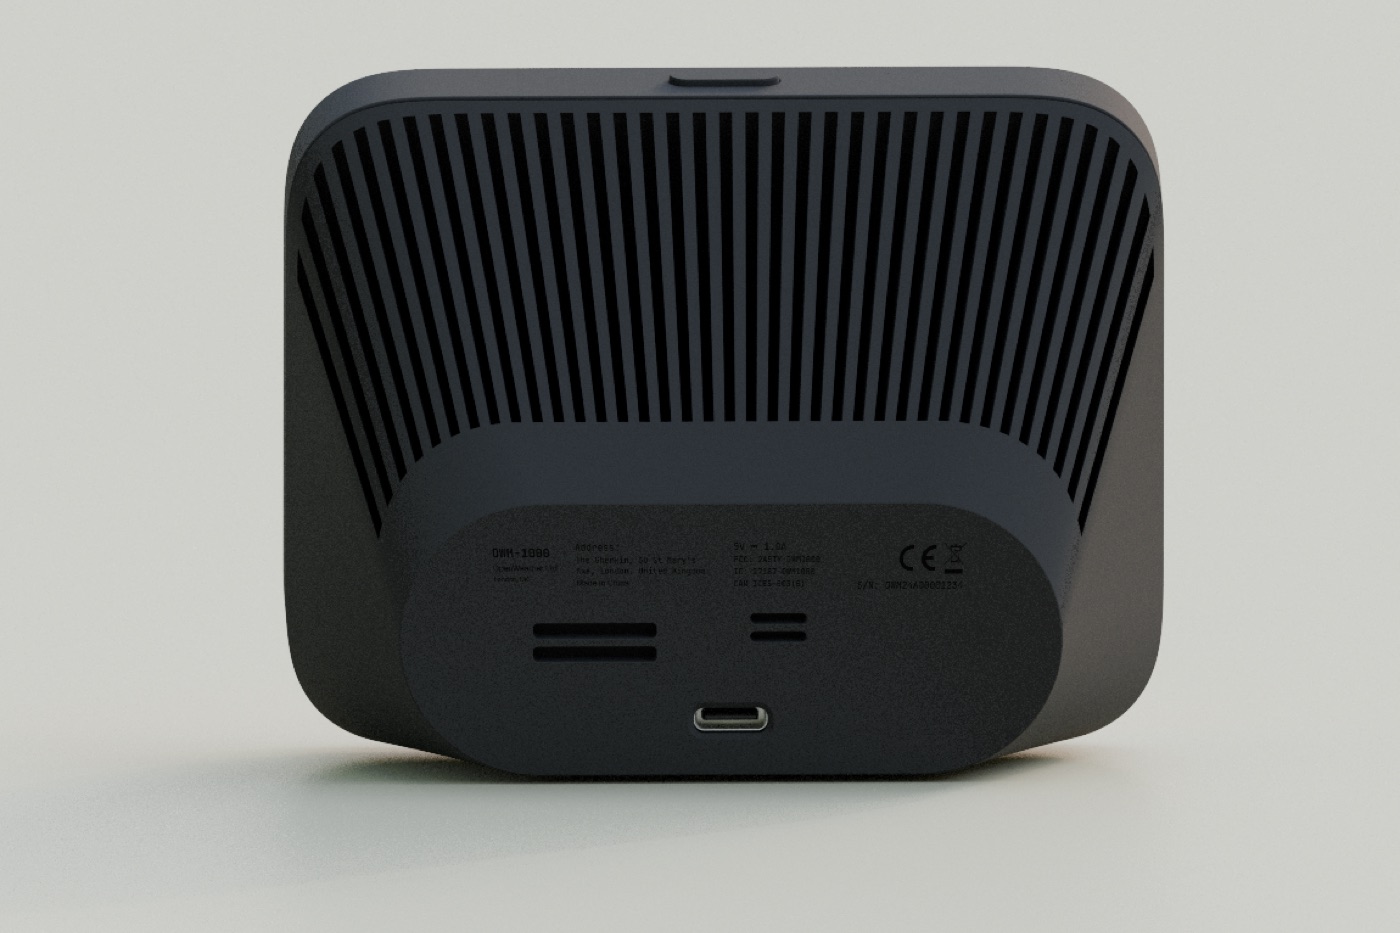
Plug the USB-C cable into the port on the back panel and connect it to a 5 V adapter. The screen wakes up in about ten seconds and shows the setup assistant.

Step 3: Connect to Wi-Fi
3 STEP 3

Connect to Wi-Fi

On the built-in screen open Settings → Network, pick your 2.4 or 5 GHz network and enter the password. The hub keeps measuring offline and uploads history once it is back online.

Step 4: Pair your devices
4 STEP 4

Pair your devices

Open Settings → Devices → Add device and switch the station into pairing mode. The hub finds OWS2000 and AQS series devices over LoRa, 433/868/915 MHz and Bluetooth.

Step 5: Link the analytics account
5 STEP 5

Link the analytics account

Sign in with your OWM account in Settings → Analytics. From that moment every reading is streamed to your dashboard and stored as history.

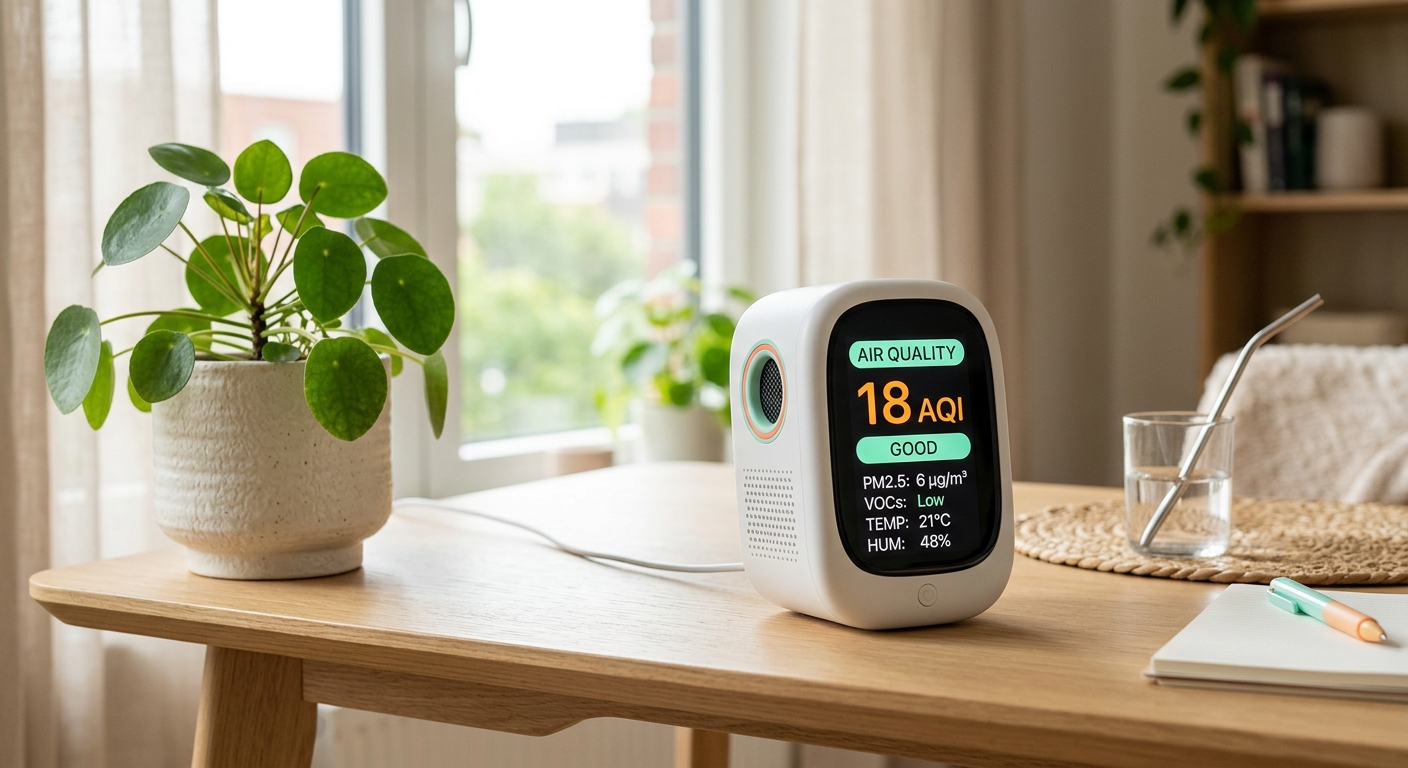
Placement tip: keep the hub at 1–1.5 m above the floor, away from radiators, open windows and direct sunlight — otherwise indoor readings drift.

Something not working?

Write to support with your serial number — a human answers within one business day.

Contact support